Dualflo, our trade water softener
Talk to the DualFlo team today 01483 753 401.
Deliver 24/7 limescale-free water to your customers and boost your business with a new revenue stream.

Dualflo Products
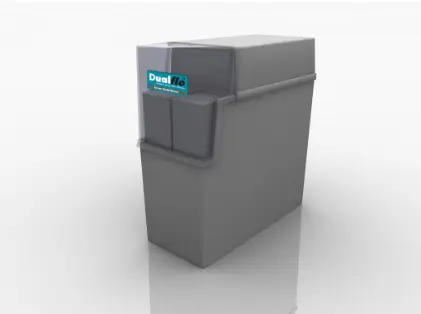
The Dualflo (3/4") Block Salt Softener
- Easy to store, handle and load – compact enough to fit in a kitchen cupboard.
- Cheaper to run, no electrical outlet needed, and quiet in operation
- Twin-tank system ensures continuous softened water, with smart metering for up to 50% less salt usage.
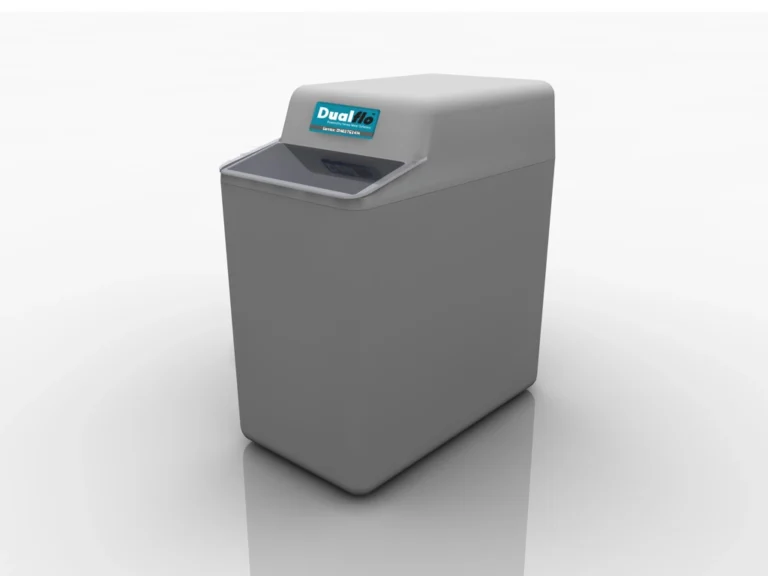
The Dualflo (3/4”) Tablet Salt Softener
- No power needed, low running costs, and quiet operation.
- Twin-tank system with smart metering for up to 50% salt savings.
- Compact size fits easily in a kitchen cupboard
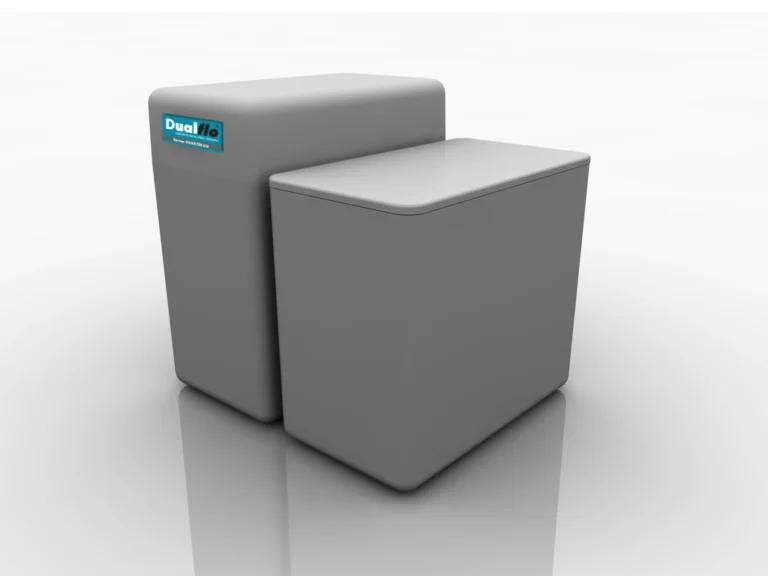
The Aquamax (1”) Tablet or Block Salt Softener
- Block or tablet salt bin can be installed up to 3m from the softener.
- No power or setup needed – low running costs and quiet operation.
- Twin-tank system with smart metering – up to 80L/min flow and 50% salt savings.
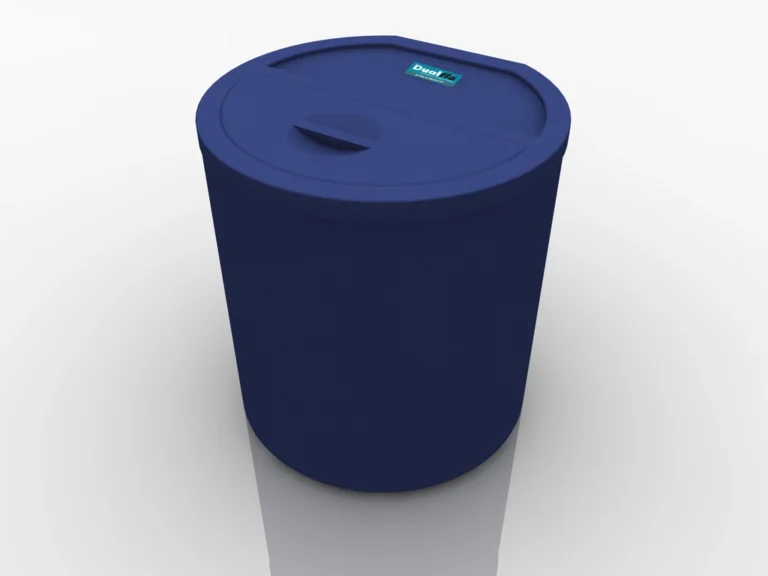
The Big Blue (1”) Tablet Salt Softener
- More capacity means fewer refills.
- No power needed – quiet, simple, and economical to run.
- Twin-tank system with smart metering – 80L/min flow and up to 50% salt savings.
Benefits of Softened Water
Select:
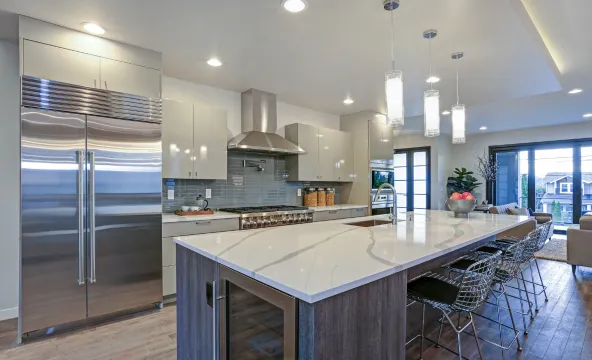
Shinier home
Softened water won’t leave limescale residue on your surfaces, leaving your home shinier for longer.
Cheaper bills
Softened water reduces your bills by increasing your boiler efficiency. You will also find you purchase fewer cleaning products.

Softer skin and hair
Softened water helps remove soap residue, leaving you with beautifully soft skin and hair.

Less time cleaning
Softened water doesn’t leave limescale residue. You will spend less time cleaning around your home.


How to install a Dualflo Water Softener
Step 1
Before you start anything, turn off the stopcock and open an upstairs tap that is fed from the roof storage tank. Sufficient amounts of water need to be run so that the ball valve feeding tank is opened. Then turn on the kitchen sink cold tap and let it run until it stops. Your rising main is now empty.
Step 2
Cut the rising main and fit the three valves, as shown, to form a bypass. Install proprietary valves with direction of flow as indicated. If garden taps and hard water drinking taps are fitted, they should be teed off before the bypass. You may have to run additional pipework to alter the existing plumbing. A check valve (complying with BS6282) must be fitted in the rising main before the bypass.
Step 3
Remove the red plastic caps from the water softener inlet, outlet and drain. Run the pipework from the bypass to the water softener using a WRAS approved flexible hose. Connect the hose connectors, nuts and washers as per the diagram. Important note: If the water pressure is 2 bar or less, the length of the drain tube must not exceed 3m. The discharge point should be below the top of the water softener. The length of the drain tube may be increased by 1m, and the discharge point above the top of the water softener may increase by 0.5m for each 1 bar above 2 bar.
Step 4
Connect the 3/8” drain tube via the air gap fitting by pushing the tube firmly into the connection. Run the tube to a convenient drain and connect it via the air gap fitting. If the drain runs outside, it must be protected from freezing.
Step 5
Connect the overflow hose to the overflow elbow on the side of the cabinet. No securing clip is necessary as it is not under pressure. The hose should be run downhill all the way and terminate at the exterior of the building if possible.
Find your local Dualflo supplier
Please fill in your contact details below to receive details of your local dealer(s)
